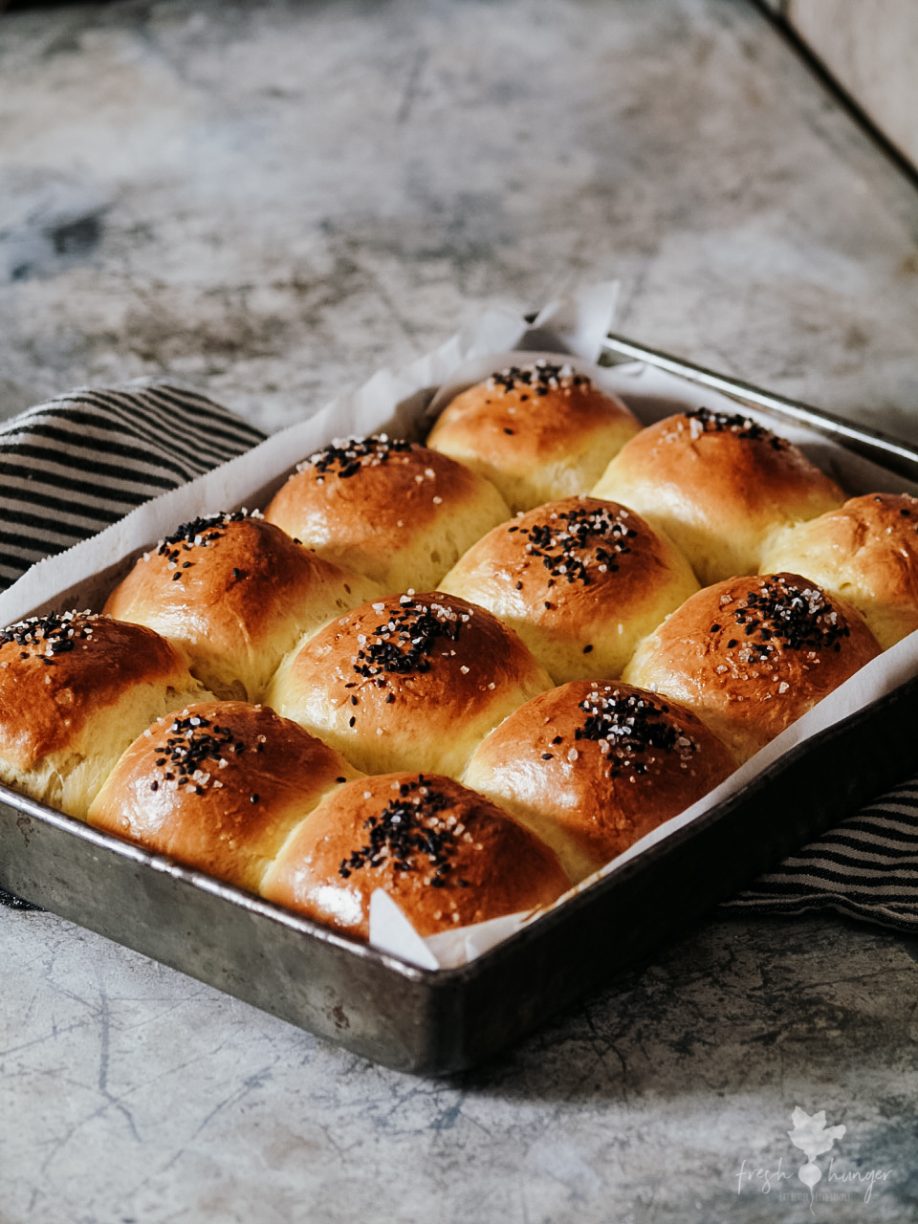
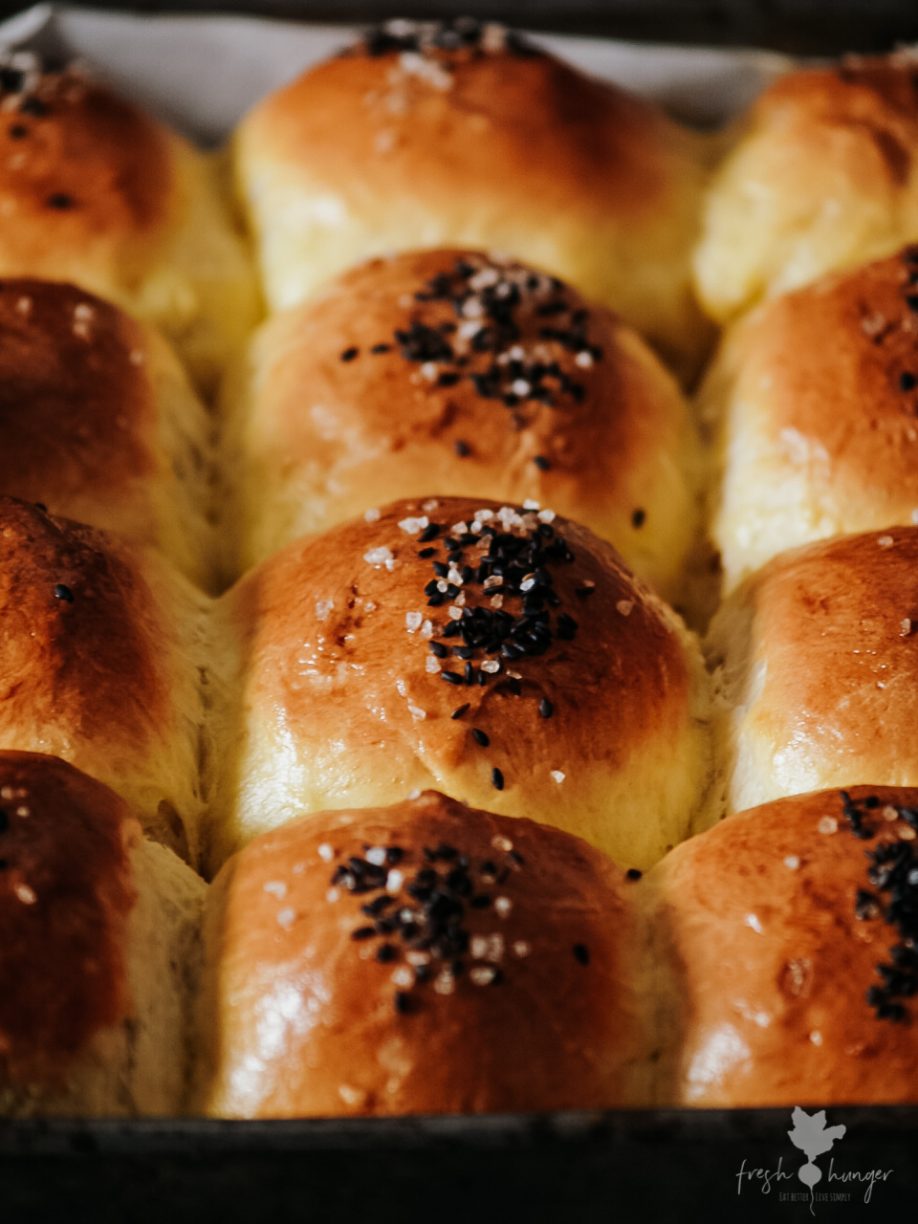
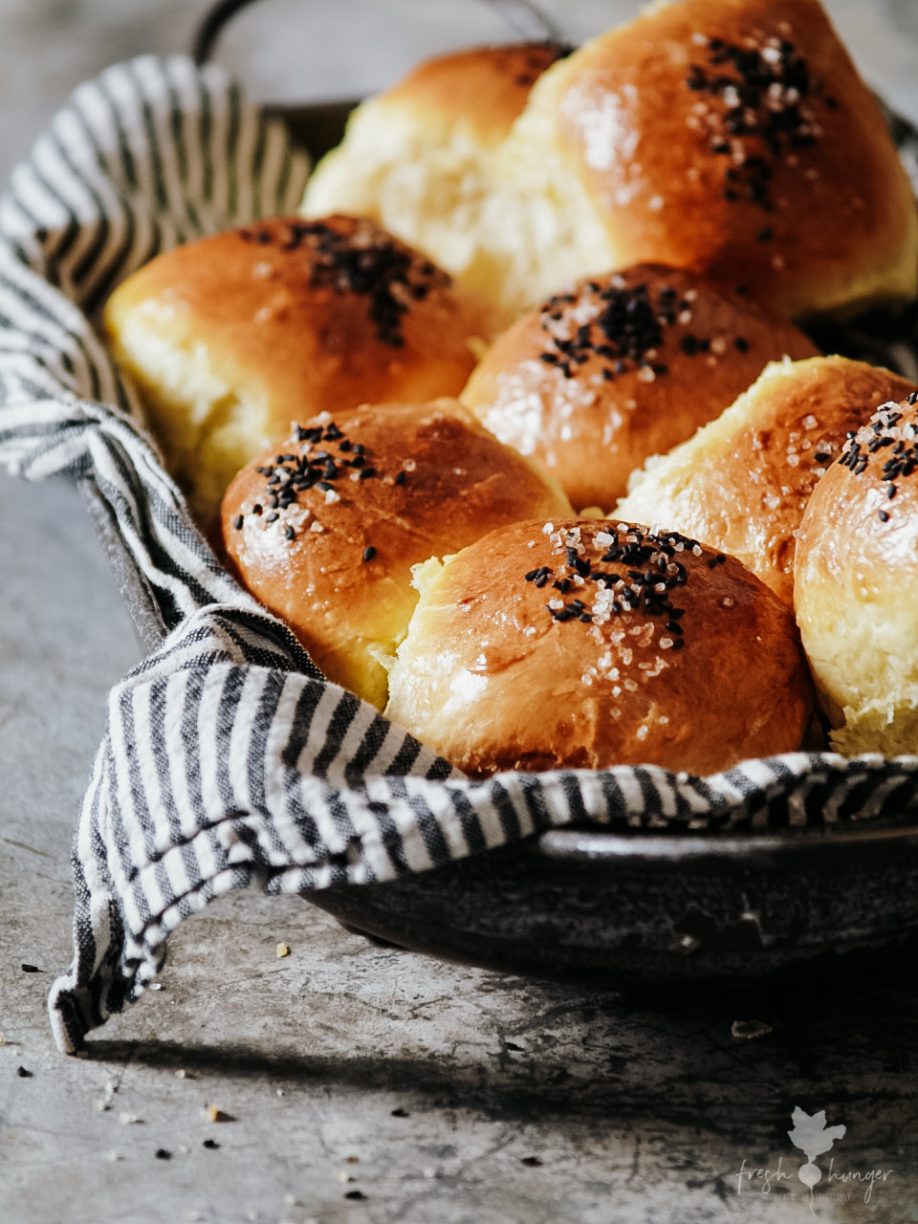
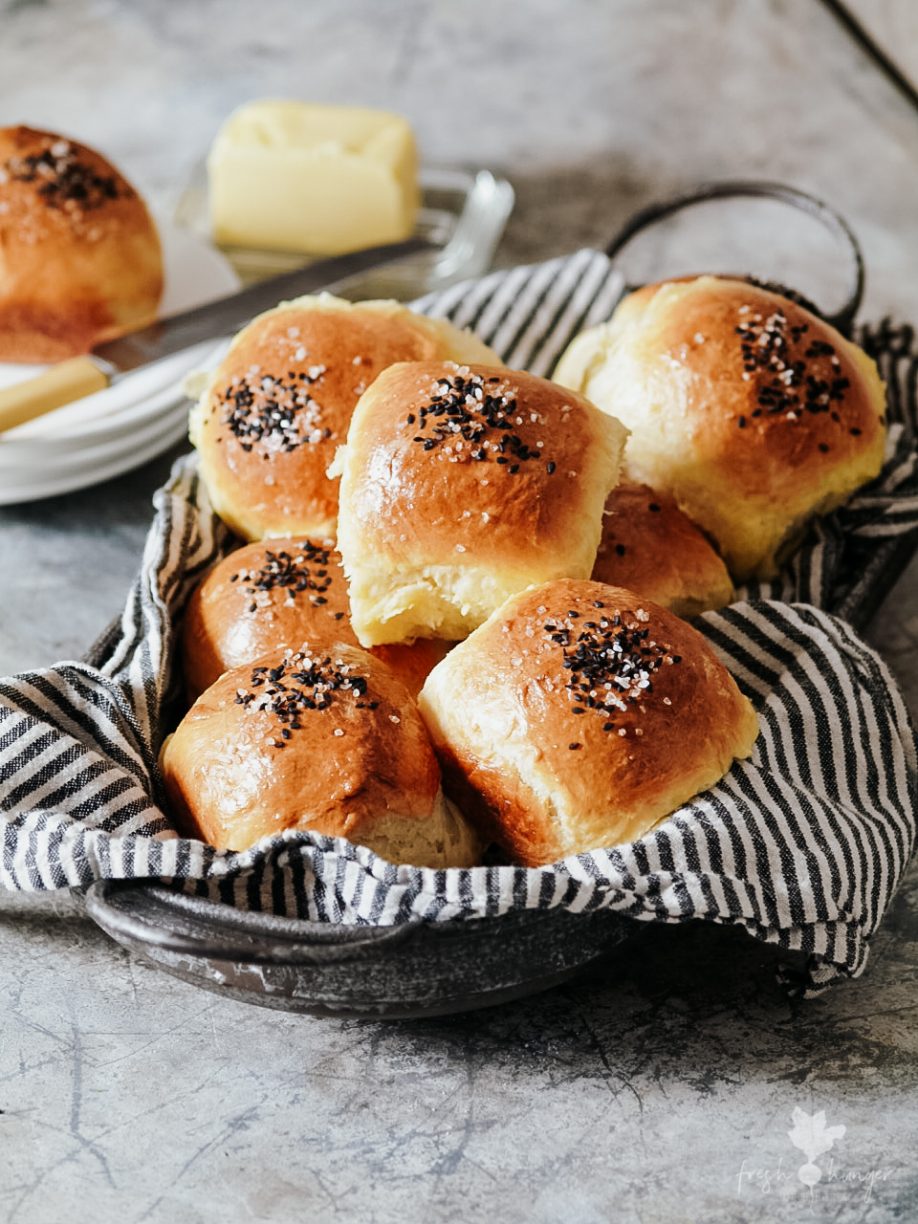
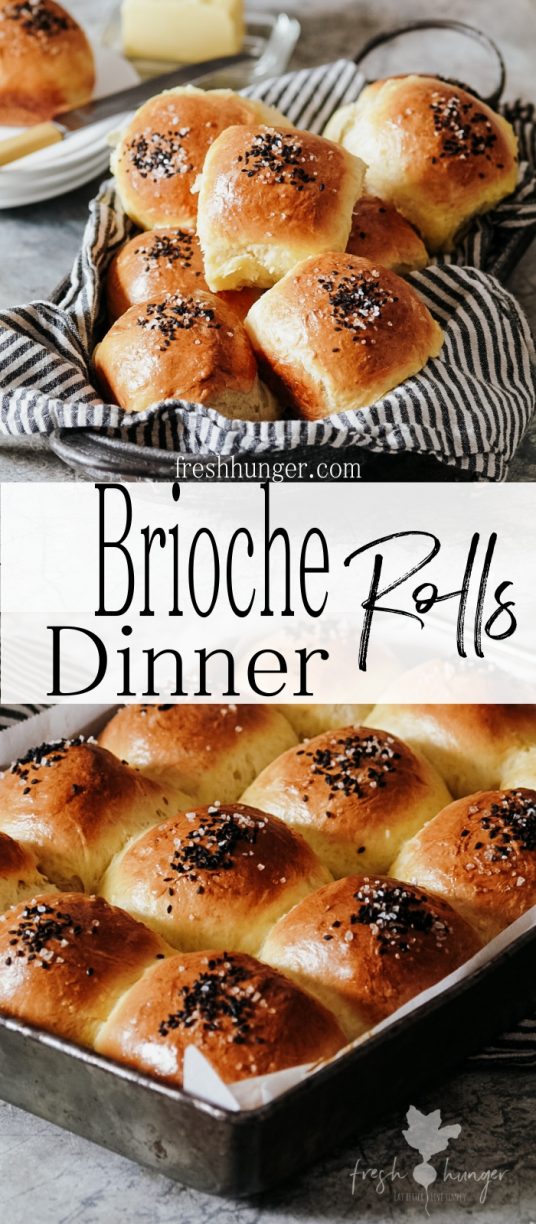
Ditch the store-bought, dinner rolls you serve for the holiday season & make your own: buttery Brioche Dinner Rolls are easier to make than you’d think. And you have the bragging rights to say “I made these myself”.
Someone asked the question on a cooking Facebook community page “what do you struggle the most with cooking?”. I wasn’t surprised at the top three responses – making pastry, Chinese food & anything with yeast. Making your own bread & having it be not only edible but really good, is something very rewarding. Sure, bread making does have some challenges but nothing that can’t be overcome. Might I suggest if you are going to make these for the hols you have a little practice first. Chances are high the rolls won’t go to waste.
Yes there is a science to bread making but learning what to look for & the feel of the dough is just as important as the scientific aspects. Flours can vary from season, state, country & brand. Then there’s the whole sea level aspect, although something I’ve never noticed. I’ve lived 5,000 feet above sea level in Montana & at sea level in Florida. Perhaps my perception is skewed but I didn’t ever notice a difference in baking. Or maybe I just know what to look for. Either way, once you get a feel for what constitutes a good dough, the rest is just semantics. I’m not going to chat endlessly about the dos & don’t of bread making in this post: follow my recipe & these rolls will turn out perfectly.
I can’t write a post about making your own brioche dinner rolls without addressing the carb & gluten factors that has everyone’s ass hairs up these days. If you’re on a low carb diet, chances are you’re not reading this post. In my never-ending quest to lose weight, I’ve tried a low carb diet – it works. But for me it’s not sustainable. I end up ‘cheating’ then the wheels fall off & that’s it: I put the weight back on I lost. It’s such a vicious cycle. One that I refuse to be part of anymore.
Instead, I choose to eat food I’ve prepared from scratch that doesn’t contain preservatives, artificial coloring or flavors & an assortment of other chemical compounds. If I’m going to eat bread occasionally, it’s going to be bread I’ve made that won’t last into next week but it won’t contain any preservatives or other shit regularly added to our food. Surely if you’re wanting to get healthier & lose weight (the two don’t necessarily go hand-in-hand), then wouldn’t you start by eliminating processed food such as breads, protein bars, meal replacement shakes, artificial sweeteners, energy drinks, sodas & the likes. You get my drift right? Why eliminate whole food groups only to replace them with anything that is not considered real food? More about this in another post because there’s a lot to say on the subject. So much so it’s book writing worthy.
Let’s get real here: ostracizing bread & other carbs from my diet forever just isn’t going to happen. I’ve tried. Making my own bread, well that can & does happen. Bread is like a slow-cooked stew, a little prep at the start then hours of not having to do anything to it then some attention at the end. You make a dough, you go back to it briefly, leave it alone then shape it & cook. It really isn’t anything to fear. It’s not time consuming. And it is easier than you think.
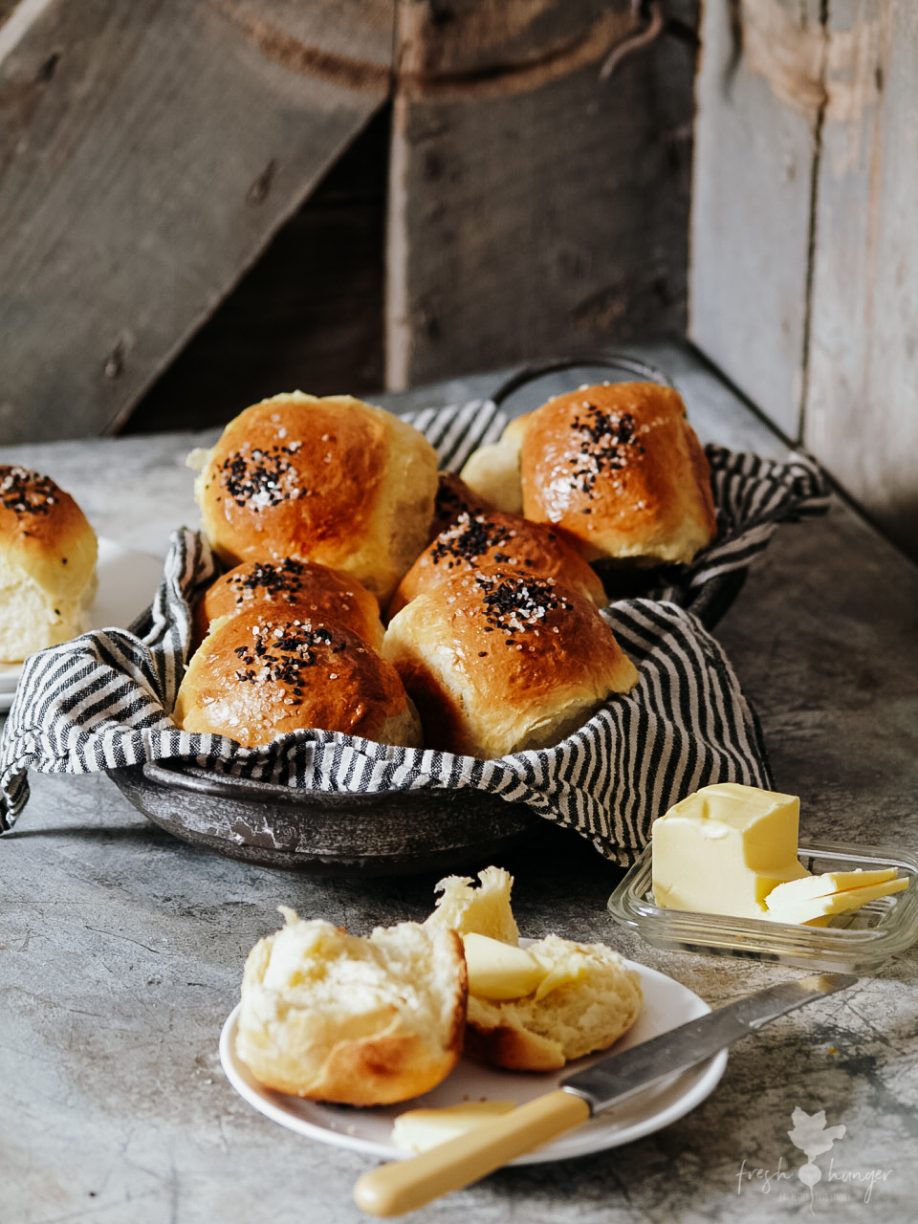
I started making bread for my husband’s lunch. In doing so I discovered I enjoyed turning beautiful breads out onto a rack to cool. If you’ve ever made your own bread, you’ll know of the smug satisfaction that comes the moment you take the bread from the oven & know, by god, it’s worked! You actually made bread. That’s how I feel each time I make my own bread. Now some of you might be thinking you have no time to make bread rolls, especially around the holidays. Instead of the six different sides you’re planning to cook, why not opt for just a few sides & make some buttery Brioche Dinner Rolls instead? Or do some delegating.
Have you tried making your own bread? I’m not bread maker by any stretch but this year I discovered a new hobby. Sure, I’ve had a couple of failures but through persistence I’m learning. At least if you screw-up bread it’s only a couple of bucks wasted. It’s not like you’ve spent half your monthly food budget on that one recipe. Bread making is a discovery of learning: different techniques, doughs, moisture, proofing times & oven temperature, can produce vastly different breads. It also makes you slow down for that capsule of time. Do you make your own bread? Is there a specific bread you’d like to master? Let me know. Until next time, thanks for visiting & let’s chat soon okay?!

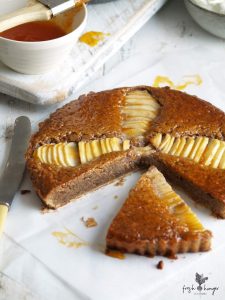
Here’s a really easy flatbread recipe to try that only requires 3 ingredients & no yeast.
- STARTER
- 2/3 cup full-fat milk or half & half (18% MF)
- 2 1/4 teaspoons active dry yeast
- 3/4 cup unbleached all-purpose flour
- 3 tablespoons sugar
- DOUGH
- 4 large eggs, plus 1 extra
- 3 cups unbleached all-purpose (plain) flour, approximately
- 1 1/2 teaspoons salt
- 6 oz/170g (3/4 cup) salted butter, softened
- black or white sesame seeds, optional
- course sea salt, optional
- To make the starter: Heat the milk in a small saucepan or in the microwave in a microwave-safe jug until warm – not warmer than 85F/29C, use a candy thermometer. Too hot milk can kill the yeast, too cold & it won’t activate. Combine milk & yeast in a large bowl of an electric stand mixer using the dough hook attachment*. Let stand for 5 minutes – the mixture will froth & bubbles will appear on the surface.
- Add 3/4 cup flour & the sugar; beat for 1 to 2 minutes or until thoroughly combined, scraping the side of the bowl with a spatula. Let stand at room temperature for 30 minutes - bubbles will form all over the surface of the mixture.
- To make the dough: Add 4 eggs & beat until well combined. Add 2 1/2 cups of flour & salt. Mix for 4 minutes on medium setting, scraping the dough down a few times.
- Add the butter, 2 tablespoons at a time. Continue kneading with the dough hook, scraping the bowl down a few times, for about 5 minutes until the dough is smooth & shiny. If dough is too sticky, add the remaining 1/2 cup of flour, a couple of tablespoons at a time. Grease a large, clean bowl. Shape the dough into a round & place into the bowl. Cover the bowl with plastic wrap & let rise in a warm place for 1 1/2 hours.
- Punch the dough down & fold it over itself four or five times, leaving the dough in the bowl. Shape into a round, cover the bowl with plastic wrap & let rise in a warm place for 45 minutes.
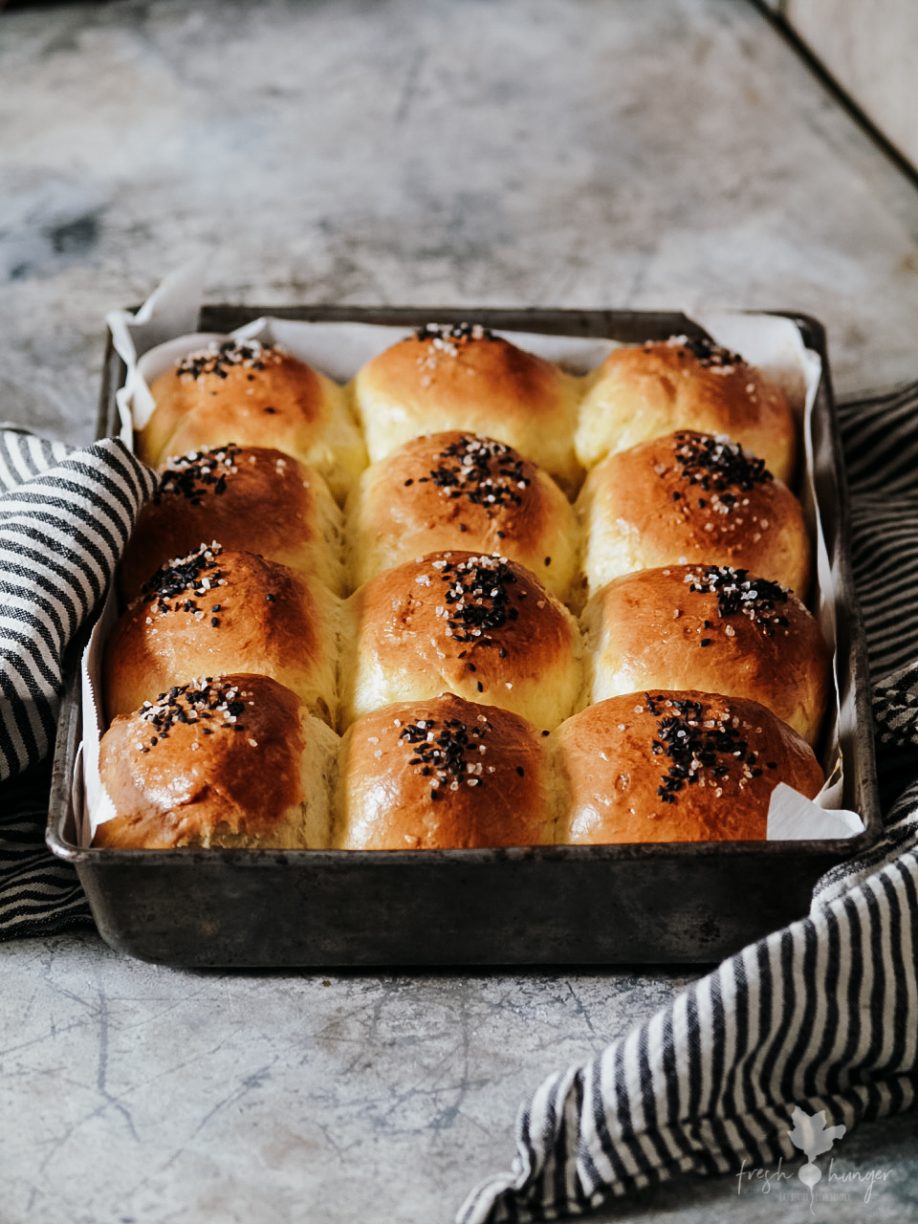
- Line a 9 x 13-inch (23 x 33cm) metal baking pan with parchment/non-stick paper.
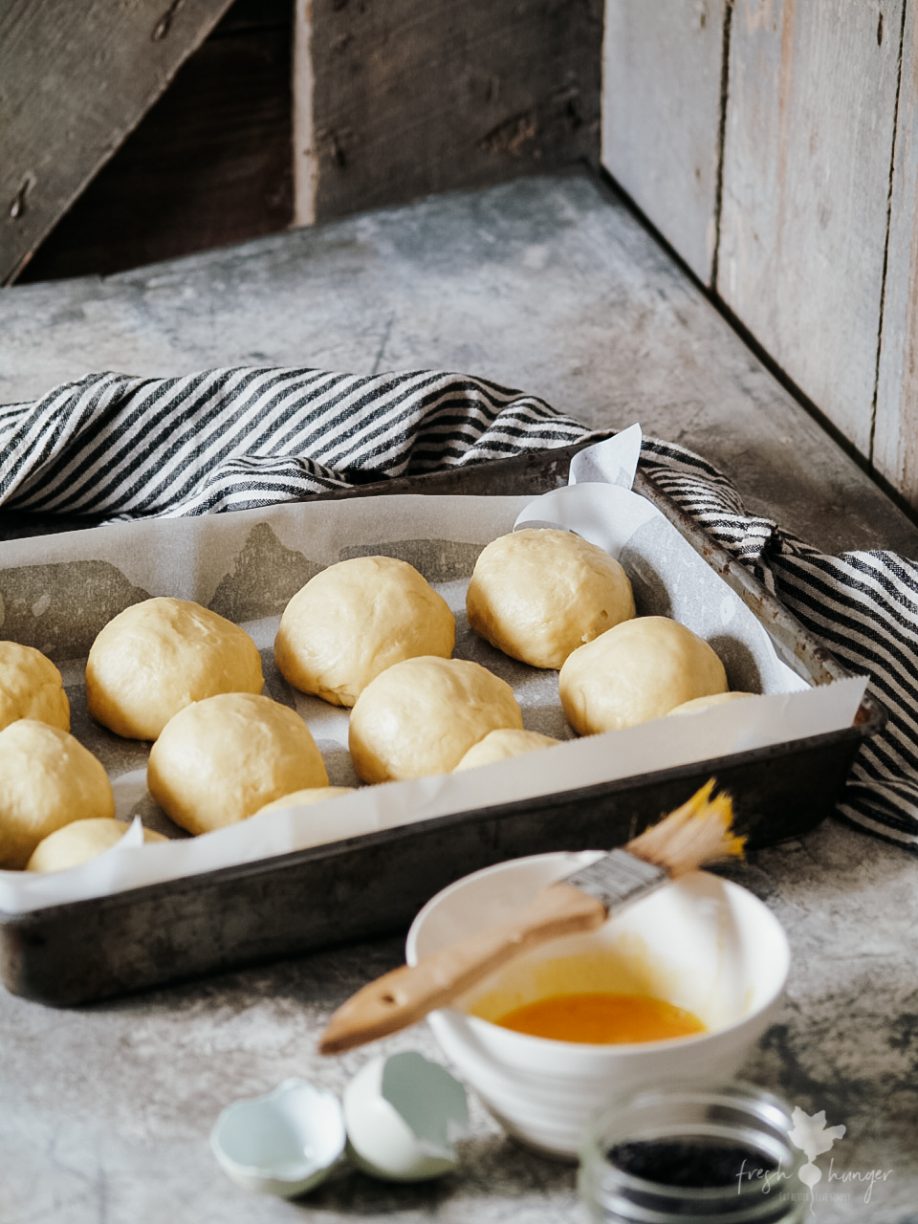
- Shape the dough into 12 or 15 small balls of equal size on a lightly floured surface. Place into the baking pan. Cover with a tea towel & stand in a warm place for 20 minutes.
- Preheat oven to 375F (190C) (or 350F/180C convection fan). Beat the extra egg in a small bowl. Brush egg over each ball of dough. Sprinkle the very tops with a smattering of sesame seeds & salt if desired. Bake for 20 to 25 minutes or until golden brown. Serve warm with butter. Makes 12 to 15.
- *If you don’t have an electric stand mixer, never fear – mix the dough by hand which is quite relaxing. Place the milk & yeast into a large bowl & stir with a fork, then follow along with the recipe kneading with your hands where the recipe indicates to use a stand mixer. Often I will make these rolls kneading with my hands. Both methods work.
- Note: Bread rolls can be frozen in re-sealable bags for 1 month. Wait until rolls are completely cool before freezing. Thaw at room temperature or for 50 seconds in the microwave per roll.

You may also like
 Initially I'd entertained the idea of calling this recipe 'Apple Spice & Wal...
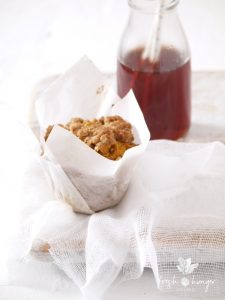 Muffins, the unpretentious cousins to the cupcake, are about one of the easiest ...
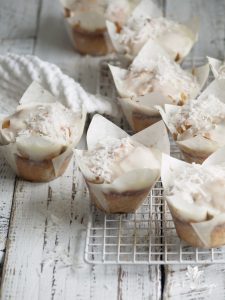 Muffins are without a doubt one of the easiest recipes to bake. If you have one ...
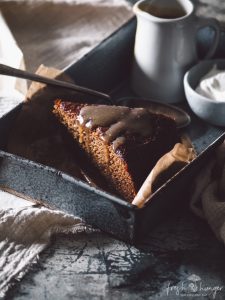 There's no dessert comparison to the wonder that is a Sticky Toffee Pudding. Rid...
 There’s something familiar and comforting about a freshly baked loaf, whether it...